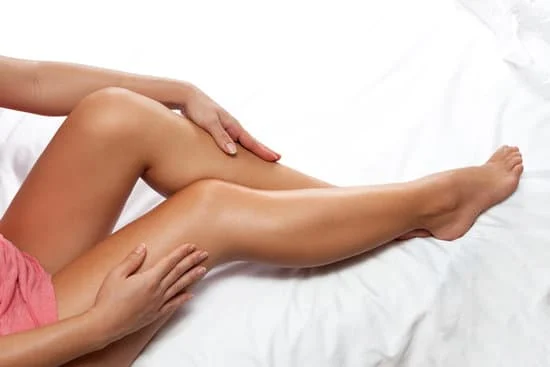
As the weather warms up, we start shedding layers of clothing. And exposing more skin. Having a golden glow and a little more color can be a confidence booster and gives us a little more courage when wearing those sleeveless tops, dresses and shorts. Self tanner can make veins less noticeable and help hide cellulite.
A self-tanning product is the safer way to go to avoid wrinkles, skin damage and skin cancer. But getting the perfect tan with a self-tanning lotion or product can be tricky. Keep reading for the best tips for self-tanning. You’ll go from tanning novice to tanning expert with this knowledge.
The Best Tips for Self Tanning
How to pick a sunless tanner
First things first, you need to select a sunless tanner for the process. But it can be overwhelming, considering so many options are available in the market. Here’s how to pick the best option for yourself.
You have to do some prior research. Do some research on the brand of product you are considering before purchasing. Check reviews and ratings of the product and the brand’s customer service. Sunless tanners are available at different price points. Consider your budget and choose a product that provides the best value for your money.
Skin Type
The most important thing to consider is your skin type when choosing a sunless tanner. If you have sensitive skin or skin conditions, look for products specially formulated for these skin types. Search for sunless tanners that contain natural ingredients such as aloe vera, green tea extract, and coconut oil. Avoid products that contain harsh chemicals that may damage your skin. Also avoid sunless tanning products with alcohol as it can be drying and trigger flare ups of dermatitis and rosacea.
If you have dry skin, choose a tanner that contains moisturizing ingredients.
Skin Tone

Decide on the shade of tan you want on your skin. Some sunless tanners provide a natural looking tan, while others offer a deeper, more intense color. One of the most common mistakes is picking the wrong color for your skin tone.
Choose accordingly, so you don’t have any regrets later. It’s best to stick with shades closest to your natural skin tone. For those with fair skin, a product that builds color slowly over time works best. Isle of Paradise Self Tanning Drops are a great option for fair skinned people because it mixes with your moisturizer and you can control the amount you use. It also comes in three shades, with a light shade for light complexions.
Those with darker complexions can go ahead and reach for the deeper shades of product.
Types of Self Tanner

There are different types of sunless tanners available, such as lotions, sprays, and mousses. Which type is best depends on your skin and your preference. Pick something that’s easy to use for the best results. You need to be comfortable with the application process to get good results.
Gradual/moisturizing
Moisturizers that tan generally have significantly lower concentrations of DHA, gradually building color over the course of a few days. They also hydrate dry skin. Tanning moisturizers are a good idea for first time users.
Spray

A spray is great for quickly and easily covering larger areas like the torso, legs, and back. It recommended you hold the bottle about six inches away from your body. The downside is that you might require help from someone else to cover hard to reach areas.
Lotion and cream
Easy to apply and can be good for dry skin, but they may take a little longer to absorb. Lotions and creams may be harder to rub in.
Towelette
The correct amount of product is already applied to the towelette so these can be a good choice for a beginner. They are also portable and mess free, making them a great option for traveling.
I’ve tried these towelettes before and found them easy to use and great for travel.
Mousse and gel
These usually dry quicker and are easy to apply. A mousse or gel is a great option for oily skin.
A patch test is a good idea, regardless of the type of self tanner you choose. Apply a small amount of product to a small area of skin to see how the color develops and to make sure you won’t have any allergic reactions.
My favorite mousse is St. Tropez express mousse and my favorite budget self tanner is Jergen’s Natural Glow . I’ve also had good luck with the Clarins gel.
DHA – What is it?
DHA is an abbreviation for dihydroxyacetone (DHA). It’s the active ingredient that turns your skin bronze. The DHA reacts with amino acids in your skin to form brown compounds called melanoidins that brown your skin to produce that sun-kissed glow. It only reacts with the outer surface, which explains why a fake tan is short lived. The concentration level of DHA somewhat determines the shade of your tan.
How to prep your skin for a self-tan
Now that you know the basics, here’s what you must do to prep your skin for a natural-looking glow. Remember that the prep process is extremely important as it can make it break the results of your self-tanning procedure. The best tips for self-tanning always start with the most important step -prep work.
Hair removal
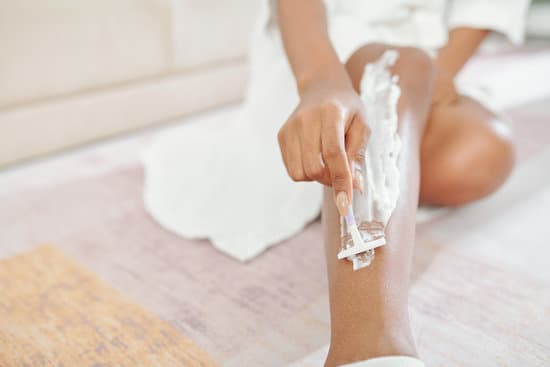
When you have hair on your skin, it can act as a resistor during the self-tan process. You can use the tanning product over your body hair but when you remove the hair, you get better results.
So, before you hit it off with the tanning process, take a moment to remove the hair from your skin. Use any process that you like – waxing or shaving. As long as you’re hairless – it’s all good.
Exfoliation
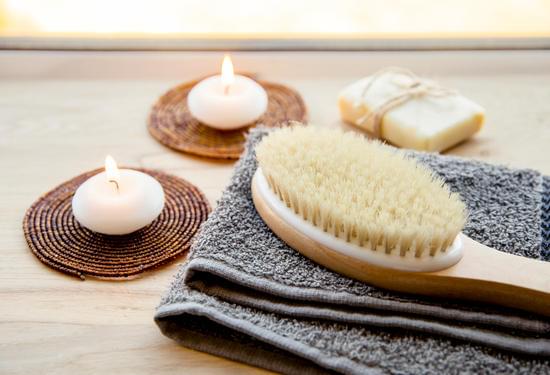
Exfoliation is an important aspect of skincare. But it’s even more important before you self-tan. It’s because when you exfoliate your skin – you get rid of the dead skin cells. Hence the tan settles well on your skin.
Before you self-tan, grab an exfoliator or body scrub and scrub the dead skin cells away. An exfoliating mitt or gloves are helpful too. I use these gloves year-round to remove dry patches of skin.
Make sure your skin is dry. Wait a bit after showering to start your tan application. Skip the moisturizer. It can cause streaks and patchy tans.
How to apply self-tanner

Product choice and skin prep are important. The success of your tan boils down to how you apply the product to your skin. Here’s how to apply self-tanner:
The first step is to use a latex glove or a tanning mitt. It’s because you don’t want your hand to be ten shades darker than the rest of your body. Always use something to protect your hands and avoid orange palms.
Apply it to your body in even strokes or with a circular motion. Apply the product in sections. For example, start with your arms and move to the other parts, rather than trying to cover the whole body at once. Go lighter over dry spots like knees and elbows.
What to do after applying self-tan
Right after you finish applying the self-tanner product to your skin, you must follow a process to ensure that your hard work is not going to waste.
For example, when you’re done with the application, wait for a few minutes before you put on any clothes. It’s because the drying process takes time, depending on the product.
Moreover, you should also stay away from water and moisture after the application (at least for 24 hours). Mainly because the tan will take some time to dry on your skin. And moisture can be a barrier in the process. Try to avoid sweating.
Things not to do after applying self-tan
The aftercare of self-tan is essential for a successful tan. Here’s what you should avoid.
Firstly, don’t shower or bathe for at least 6-8 hours after applying self-tanner. If the product requires showering after a certain time to remove it, follow the product instructions. This will allow the tan to develop fully and avoid streaking or patchiness. Try to stay indoors to avoid any contact with moisture.
You should also avoid wearing tight clothing or shoes that could rub against your skin and cause the tan to wear off or leave marks. You don’t want your clothes to ruin your hard work.
You should also avoid the gym. As when you sweat excessively, this could cause the tan to streak or fade unevenly. That’s the worst thing that can happen. So, stay off of the gym. It’s because these small steps will play a crucial role in how your tan develops. The gains can wait for a day or two!
Takeaway
Self-tanning is a popular procedure that a lot of people use these days.
The self-tan process may sound tricky. You must follow a few steps and invest time in the skin prep. Once you do that, the results will speak for themselves. You will love your natural-looking tan with these best tips for self-tanning.
